Saturday, October 3, 2015

What?! No way!

Does this blog still exist? Oh my....

God it feels good to get back to painting/drawing! Gonna post my inktober stuff next week too. YAY!

The whole values thing eludes me, so I'm gonna stay in black in white from now on, I promise. The ole sarge:

Sunday, June 22, 2014

Porty Update 2014

YO!

I decided to put together some of my best work from the past year. Enjoy!

Copyright Riot Games, of course. Some of the concepts were improved in model and texture by my awesome teammates :D


In other news, I will be doing live demos and sketches at the Japan Expo in Paris next weekend. Stop by the Riot booth and say hi!

Saturday, May 17, 2014

It's all about where you go, no matter where you been

Trying my hardest here.. need to learn more planes of the face. :)


That's right, folks, TWO earholes!

Who's that Pokemon?!

Work has been insane this week. Finally have a little breathing room before plunging back into the fray. This blog is how I relax.

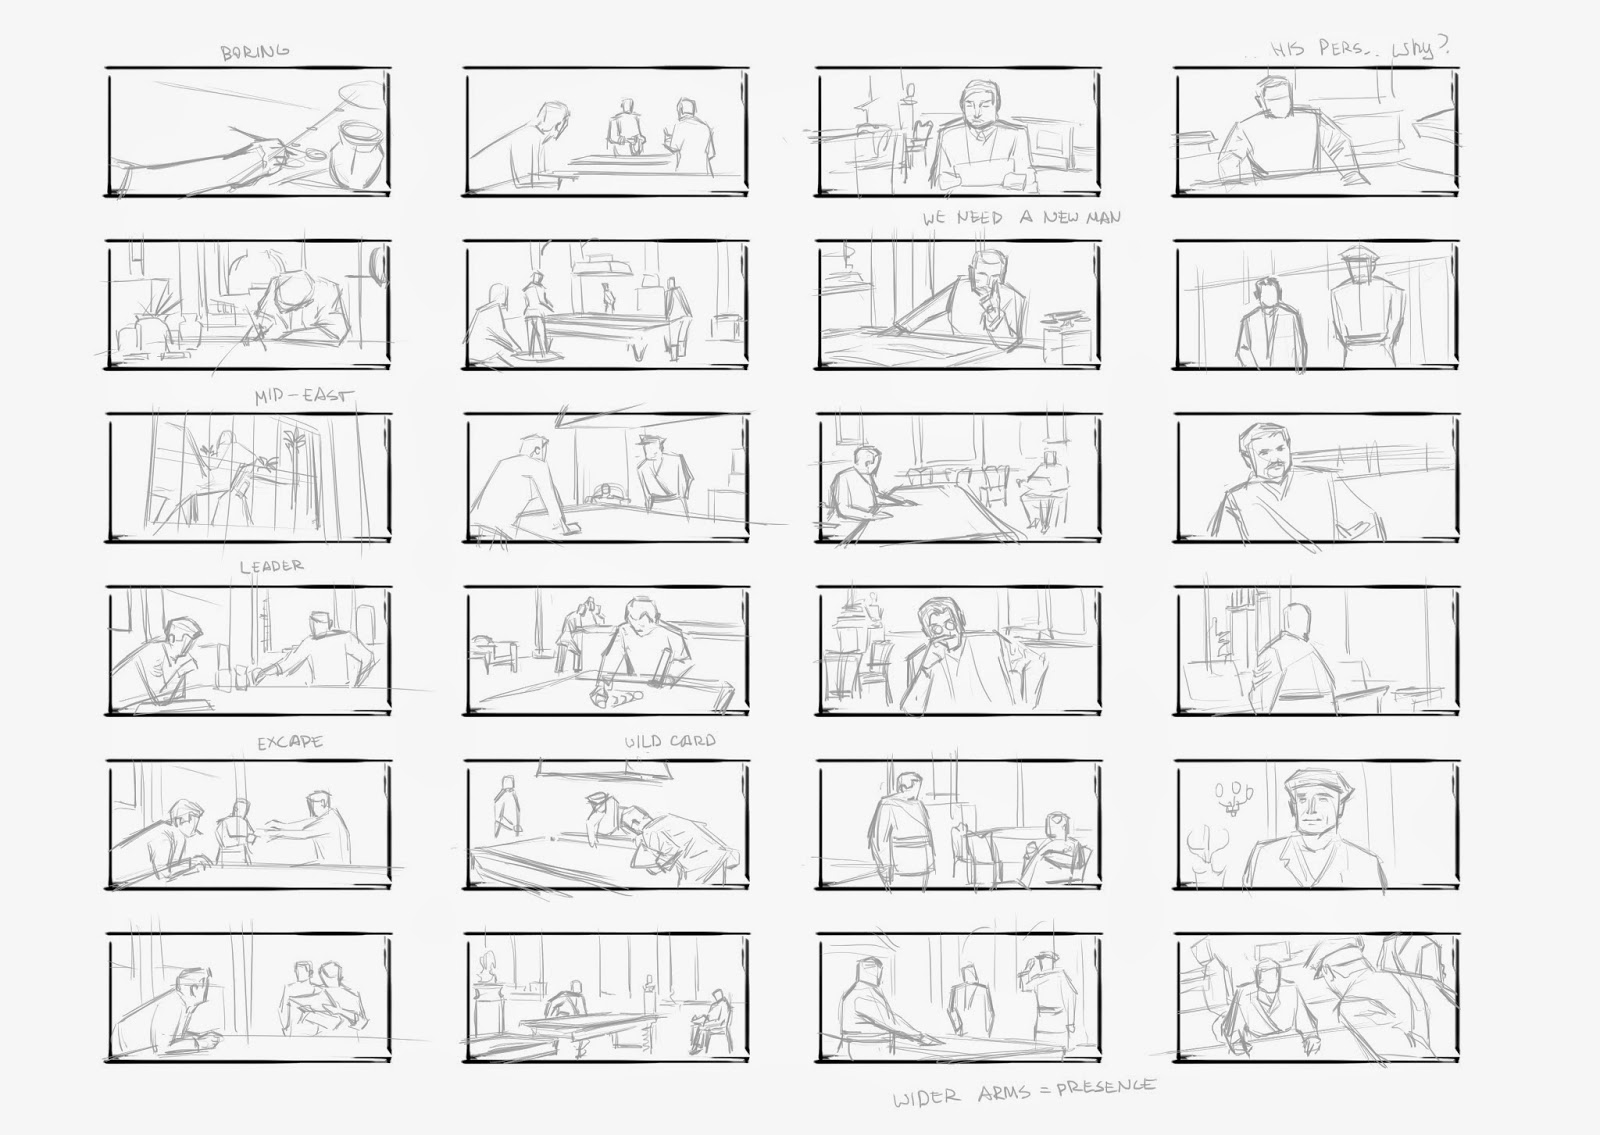
Working on my visual narrative skills. I keep getting kicked in the ass by the badasses here critiquing my work. It makes me dangerously inspired to get better :D

Going shot by shot is awesome because you have enough time to think about the meaning of every decision the director has made. That is, if the movie is considered a masterpiece. If it's not, you have time to think about what you could have done better.


I'll give you guys a hint: I didn't even get to the desert, which was the whole point of starting these.

Process for laying out a human figure:
Rectangle for head, rectangle shape for body.
Shoulder line.
Put in arms and legs in angular shapes.
Even the slightest shift of proportions completely changes the gesture.
Mark hands and ground feet.
Go back to face. Put in ear and hairline.
Put in jaw.
Eye sockets and nose.
Maybe mouth. Maybe eyes.
Just keep getting smaller with your rectangles and trapezoids depending on detail level.

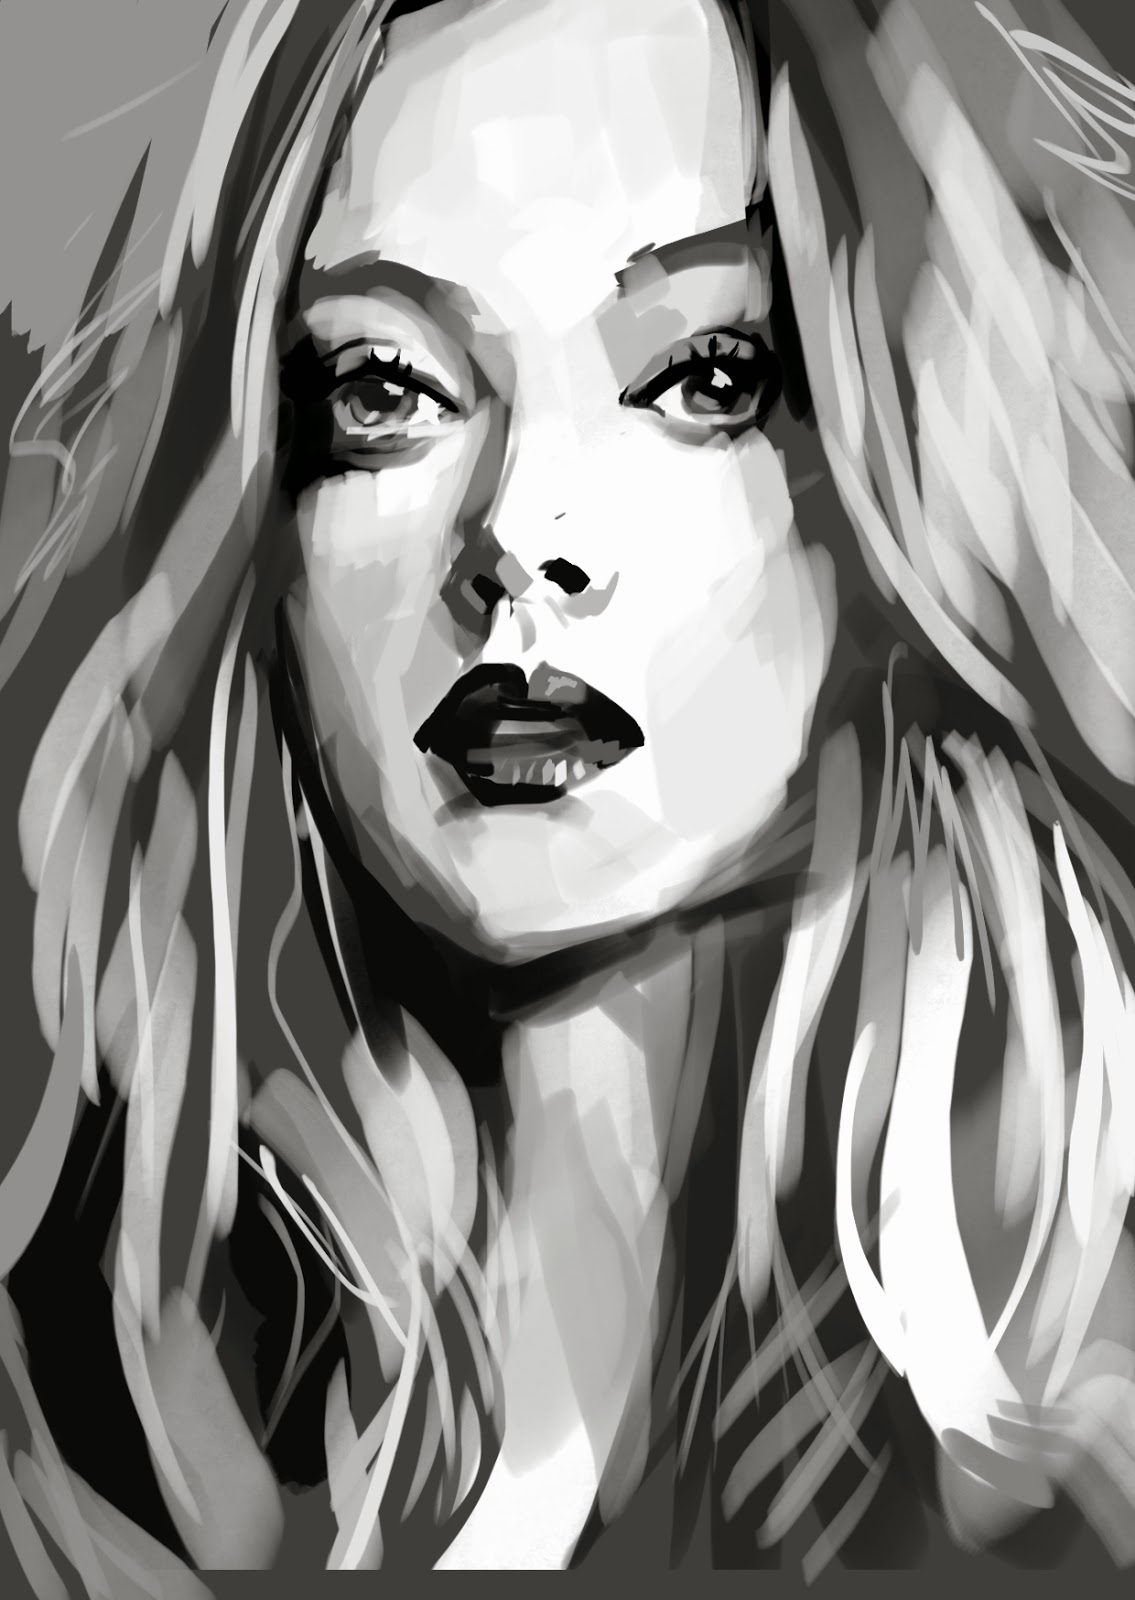
And now for a little personal piece!


Attempting to apply some of the things I learned from recent studies. Learning lots about planes of the face, and about rendering form precisely. I feel like the fastest way to get your form to read cast-drawing-precise is to use a small brush and hatch. I'm beginning to "feel" the little undulations of the surface as I'm rendering, it's cool.

Monday, May 12, 2014

Oh Shit

I forgot to upload all of these! Turns out I have been drawing, you guys!


Probably not chronological..

Main points: Smudge tool solves everything. Think of your "paint" like clay. If this drawing were a sculpture, which way would the planes be facing?

Form rendering is really about consistency. Under strong direct light, all planes facing same direction should have same value.

Process: Block out with opaque values. Smudge over transitions. Go in with tiny brush and crosshatch like you would with a pencil.

Last one inspired by Pan's work. I learned a lot from seeing his studies. Mostly that you have to put in the time with a tiny brush if you want the form to be precise. There are no shortcuts.

This side of Town

I did some sketches earlier this year. It's time they saw the light of day..


Oh.. Maybe that one shouldn't have.

Monday, January 6, 2014

Saving Face


It's hard, but I'm learning a lot.

Process is now actually working with as few values as possible. Don't start blending until your form reads!! And figure out a way to block in as much information as possible without picking new colour, switching brushes or lifting your stylus off the tablet.


SO,


  1. Pick out the plane with the highest value in the "section" you're working on
  2. Measure its angle of incidence to the light
  3. Calculate the right value that is consistent with the rest of the "sections"
  4. Blend it into the other areas controlling the speed and direction of gradients


>.<